
This is incredibly mundane, but like most blog posts that doesn’t stop me from writing it down.
We have a string of solar-powered LED lights in our backyard.
The plastic stand that it was supplied with broke, and so for the past few months it has been precariously balanced on various branches, bits of fence etc – falling off into shadow and powerlessness – blown by the wind or local cats on the prowl.
I wanted to make a replacement, but could never find the time / energy / foolhardiness to fire up one of the big sledgehammer CAD apps to crack this particular nut.
I’d played with Shapr3D in the past to quickly sketch things while working at Google – but never considered it for 3d printed output. I fired it up last night and in five minutes, with a glass of wine and taskmaster on in the background had made what I needed.

This morning, I printed it out on the AnkerMake M5. This thing has been a revelation.
I first got myself a cheap (<£500) 3D printer about 5 years ago – but it was damn fiddly.
It never really worked well, and the amount of set-up and breakdown after every (terrible) print meant that it sat unused most of the time while I sent prints off to be done, or while at Google prevailed upon colleagues to print something for me (shhhh)
The AnkerMake M5 is a different proposition entirely. While a little more expensive than my first (disappointing) machine – this lives up to the role that 3d printing has played in the imaginations of futurists, designers and maker-scene dilletantes (like me) for the past decade or so.
You print stuff. And it works. Fast.
That’s it.
Their bundled slicer software is pretty good – good enough for me at least, and you can have something like this little part spat out in about 5mins.
It is really fast.

I did one print – looked at it in-situ and decided it would need a bit more reinforcement. Back to Shaper3D, add a little reinforcing spine. While I’m at it, get fancy and countersink the screws with a little chamfer. Export STL, send to the slicer, print.
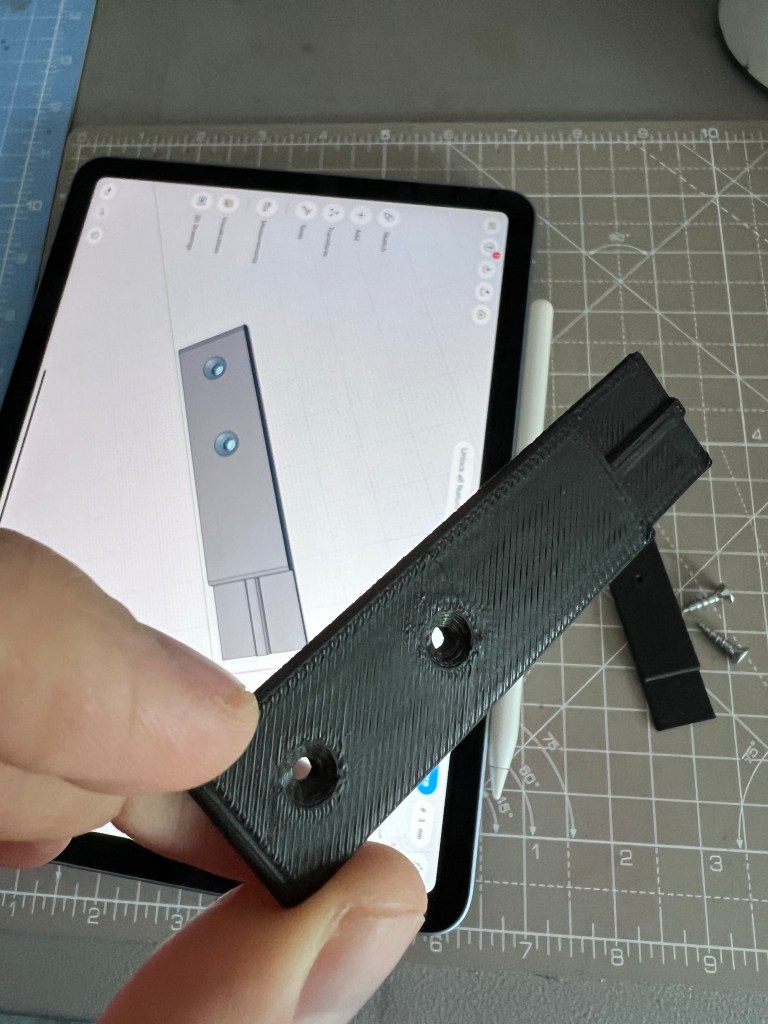
I’d iterated on the part and printed it in 15mins.
All that was left was to screw it to the fence, and the panel dangles in the wind no more – soaking up photons and making electrons for the LEDs to sip on at night.

Now I’m sat in a cafe while my son plays football writing this – and thought I’d play with the visualisation and AR tools in Shaper3D.
Amazing that this is on a cheapish, non-super-powerful tablet (>3yrs old iPad) and accessible enough for non-experts and maybe even kids.
Mundane maker magic on a Sunday.

[…] couldn’t imagine using it – but I could imagine interesting uses teamed with something like Shapr3d and the Apple Pencil on my […]